
While waiting for step one, create a design for printing.
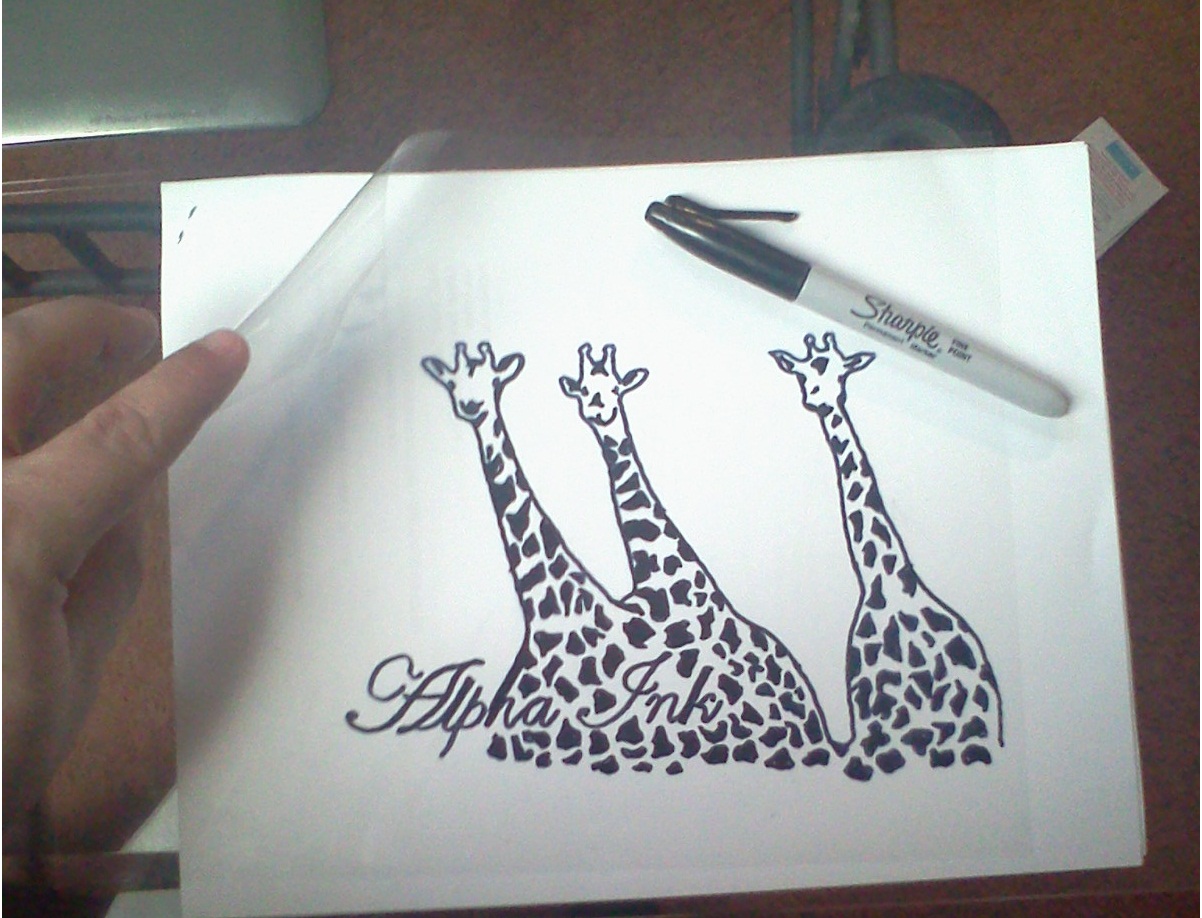
Preparing a positive, means that the exposing silk screen needs a design that is black on a transparent paper. There is different ways to do so, but we are gona use the easiest way.
Materials:
- Black marker.
- Clear tape.
- Blank Transparency paper
Remember for this step the design/artwork has to be all black. All the clear areas of the positive allow ultra violet light to pass trhough it. All the dark areas of the positive block the ultra violet light and leave the photo reactant emulsion on the background unharden. All of the soft areas left unharden when sprayed with water will rinse out, leaving a hole in the mesh were ink can pass through.
Dude screen printing is awesome, and I have always been fascinated by it. I actually saw a different easier way to screenprint on lifehacker last week. Here is the link if you would be interested.
ReplyDeletehttp://blog.makezine.com/archive/2011/02/sylvias-maker-show-super-simple-screenprinting.html
I am also quite interested in screen printing. My ultimate goal is to set up a system to make my own art prints. I will be watching your posts for more ideas. Keep it up.
ReplyDeleteThis is a great blog, with really great info! I know people in the screen printing business so I will for sure keep up to date with you! Good Luck!
ReplyDelete